October 17, 2023
Your FREE Putting Guide
Welcome to your FREE Putting Guide, designed to deliver crucial information to help you putt better and sink more putts. Through this step by step approach we hope to give you some key techniques and tips you can use to improve your putting as well as some recommendations for ongoing help and support.
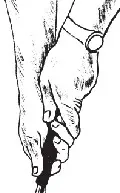
Step 1: Your Putting Grip
Grip the putter in the right hand, with thumb on top of the grip and wrap the left hand above the right, snuggling the left thumb in the right palm and the index finger of the left hand over the pinkie of the right hand. This is the most common grip, the reverse overlap.
For more details on this or other grips you may use, refer to your copy of The Fundamentals of Putting Chapter 3
Step 2: Set-up
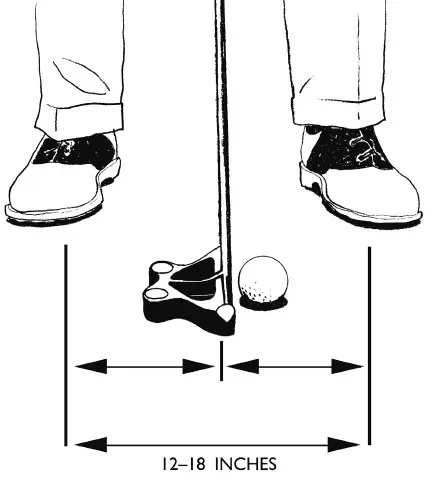
You should address the ball with the club-face centered between the feet, with the ball directly under the eyes and the arms relatively straight. Your toes should be aligned parallel to the target line. The feet should be 12-18 inches apart.
This is assuming the you have a correctly fitted putter.
For more details refer to Chapters 2,3 and 5 of The Fundamentals of Putting.
Step 3: Lock and Rock
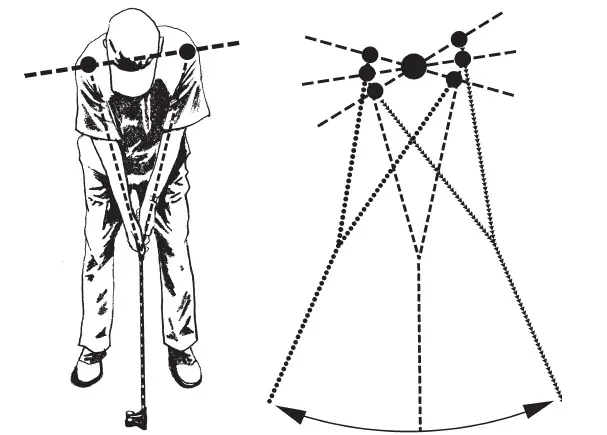
For maximum consistency and to reduce the sources of error, keep the shoulders, arms, wrists and the putter locked as a single fixed unit. This unit must act as one, rocking about the spine.
Step 4: Your Eyes and Your Putt
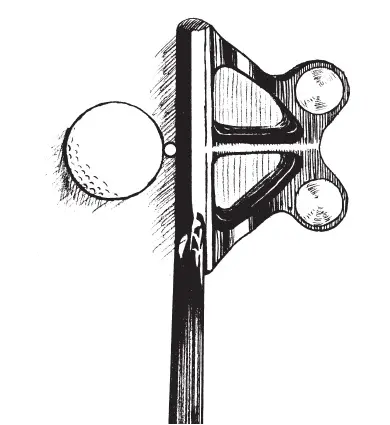
Research conducted by Dr. Joan Vickers indicates that the few seconds before, during and after impacting the ball the eyes must be quiet focused on a single spot – directly behind, or on the ball.
For more details refer to Chapter 9 of The Fundamentals of Putting
Step 5: Planning Your Putt
View your putt from both sides of the hole and walk the line to feel the slope. Knowing where the Fall-line is will help you understand how the putt will break. The putt will always break as if wanting to roll toward and down the Fall-line.
Identifying the Fall-line and knowing how to find it, as well as identifying your target point i.e. green reading needs some practice.
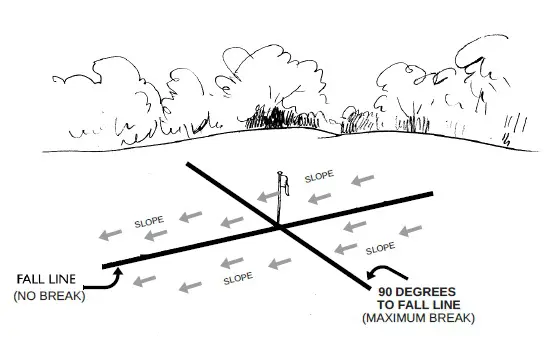
This is well explained in Chapter 11 of The Fundamentals of Putting
Step 6: Prepare Your Putt
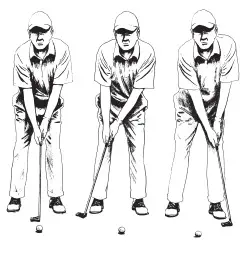
This is your pre-shot routine. You can either stand behind the ball looking at the line of the putt or alongside the ball while visualizing the break and sinking the putt. You must believe you can make it and trust that you have read the break correctly.
The practice stroke is programming your natural rhythm and preparing to set up and go!
For more insights into the importance of pre shot routine and how to develop your natural rhythm go to Chapters 8 and 10 of The Fundamentals of Putting
Step 7: Execute Your Putt
Now that you have planned and prepared carefully you need to trust your preparation and commit to the stroke with complete confidence. At this point there is no room for doubt.
You may not make every putt but you must believe that you can and trust your decision. Then, just let it happen.

Step 8: Eliminate Errors and Build Confidence on the Green
Putting better requires eliminating errors in your putter, your stroke and your mind. Turn putting from a liability into an asset by considering a Frankly Frog Putter for your bag (which will eliminate errors in the instrument) a Fundamentals of Putting book (which will eliminate errors in your stroke) and finally consider a Mind Coaching session, which can be conducted online or in person.
We hope you enjoyed this Putting Guide.
Putt well.
Frank and Valerie
Frank Thomas was Technical Director of the USGA and Chief Equipment Advisor to Golf Digest and Golf Channel.

